Would you drive your truck to work with a flat tire?
Nope, you’d change the tire first.
Would you fix an electrical socket without turning off the power?
Absolutely not—you definitely wouldn’t risk electrocution!
How much more, then, should you inspect your harness before you’re exposed to potential fall-associated risks on the job?
After all, you’re the person who’s wearing it—it’s your health and safety. So don’t forget to inspect your harness before initial use during each work shift. Not only is it the smart thing to do, but OSHA requires it.
Wondering where to start or not sure if you’re covering all the bases? Don’t be intimidated—inspecting your harness isn’t overly complex or time-consuming when you understand what you’re looking for. You can simplify the process by breaking it down into five manageable steps that correspond to the five harness components you should always check:
1. Labels
Why do labels matter? Primarily, they contain warnings, standards information, and other particulars you should be aware of, such as the harness’s weight capacity. They also identify your individual harness using a unique serial number. That’s helpful especially if your harness is involved in a fall, allowing it to be tracked by your company and the harness’s manufacturer.
Therefore, confirm that the plastic label tags are affixed to the harness, and make sure you can read them clearly.
2. Load Indicators
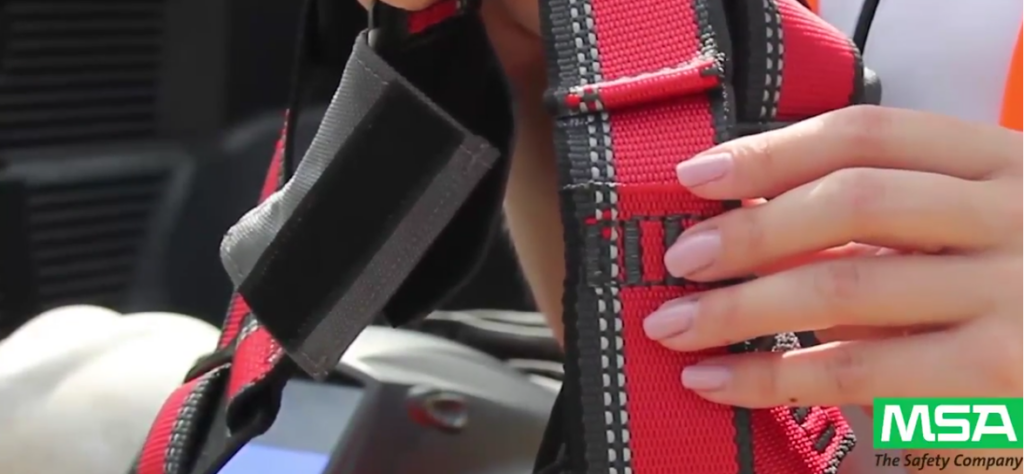
Load indicators are folds sewn into the webbing on the back of the harness. When the harness is subjected to a fall, these folds rip apart and their threads fray. If your harness’s fold indicators show signs of wear and tear, the unit should immediately be removed from service.
3. Webbing
This is the most common place to spot imperfections. Like any fabric, webbing is vulnerable to cuts, fraying, and abrasions; examine your harness thoroughly, taking note of these flaws as well as other excessive wear. Is any of the webbing missing? Has it been altered, such as with duct tape? If the webbing exhibits any of these defects, retire the harness.
The webbing might also have been exposed to excessive heat and chemicals. Check for burns, scorch marks, melting, or other signs that the webbing has been compromised. And if your harness is filthy, it’s disqualified from service. Why? It’s not that your harness can’t take a little dirt, but the fact is that grime can make other defects harder to see. Furthermore, some of those substances staining the harness could, in fact, be damaging it over time, perhaps abrading the fabric or corroding the buckles.
4. Hardware
Speaking of buckles, do not wear a harness with bent or dented metal components—D-rings, leg buckles, chest buckle. Dents suggest that your harness may have experienced a fall.
5. Stitching
The places where the parts of your harness are sewn together bear your body’s weight, so you want the stitches perfectly intact to maximize their holding power. Broken or missing threads mean that your harness fails inspection.
That’s it! Minimize the chance of injury on the job by using these five simple steps as a guide to inspecting your fall protection harness every time you wear it. And remember, in addition to the assessment described here, your harness should be inspected by a competent person every six months.
View a video demonstrating what we’ve discussed in this article.


